INTERIOR
I MEAN IT HAD CHARACTER
I have to imagine the inside of this car has seen some shit. At one point it apparently was owned by a pimp of sorts, because I found his literal calling card inside one of the doors. It must've slipped between the window and the felt runners and sat for decades. It's aged (and now laminated) but reads "Which figure do you want in 197x? If you choose "B" or "C" call me at 525-9643"
What a player.

There were a few things I really liked about the interior. First, it had the original gauges. The flip-down courtesy light still functioned. It felt like a cockpit. The wood steering wheel and shift knob are not original, but I love both of them. Ok - all keepers. But I had some work to do on just about everything else. The aftermarket exhaust was doing me no favors either when it came to enjoying driving this thing and that was for two primary reasons - one, it was droney and incredibly loud, and two, because of how low the car sat the aerodynamics of the car somehow managed to recycle the exhaust fumes right back into the cockpit of the car which was nauseating, and also made me smell like I fell in a container of gasoline and charcoal when I got out of it. I wanted carpet back in there because driving without it is deafening. But in order to put carpet in, I wanted to make sure to protect the raw floorpan. Introducing: POR-15!

TO EACH THEIR OWN
Apparently POR-15 is a highly debated product. Reading around through Reddit and various restoration websites, I didn't know this, and I don't care. POR-15 is this weird product that applies like a watery paint, but as it dries turns rock hard and bonds to the metal. Depending on what surface you're working on, sometimes you have to apply a bonding agent first. This comes into play when you're not applying to bare metal. Some of my floorpan was bare metal, some of it had paint remnants, so I opted to go for the bonding agent before applying the POR-15.
The directions said to use a paintbrush or foambrush to apply it, but I took a different route. I bought a few 'thick fluid' empty spray bottles and sprayed it instead. I only used foam brushes to help even out some of the areas. It worked great - just remember you'll end up tossing these bottles when you're done. Once that stuff hardens, there's no chance of re-using them.
After seeing this stuff in action, I also went so far as to apply it to all the pinch welds that exist in various parts of the car, for example around the glass areas, underbody, and places along those lines. I did this as an added layer of insurance in case water were to ever sneak in.

DEBATABLE PART 2
After applying the POR-15, and in the interest of a quieter and more insulated driving experience, I chose to install sound dampening material. If this is a new concept to anyone reading, it's basically an adhesive rubber that is manufactured in different thicknesses that helps to minimize vibration and resonance in the car and is backed by a thick aluminum type material that helps to protect the rubber and hold its shape during installation. Dynamat is probably the most popular brand for this, but it's also overpriced, so I went with Kilmat. It was a little thinner, but lighter weight at the same time. Yes. It adds weight to the car but guess what I'm not building a race car, so I don't care and it's a negligible amount. I bought two boxes of this stuff, it was sold in rectangular pieces measuring 9"x16", along with a roller toolkit to help press the adhesive into more difficult areas. I put this over the entire floorpan, inside the rear hatch, and even inside some of the interior-accessible body panels.


COMFORT
It didn't look great. Then I did POR-15 and it looked a little better. Then the Kilmat, a little better yet - but now was the crescendo. The carpet. I ordered the pre-formed full carpet set from zcarparts.com and began the install. The kit fit great - the only real work to do was cut out holes in the driveshaft tunnel area for the shifter, center console, hand brake, seat belts and bolt holes, and to trim up the edges where the scuff plates would install over it to secure it near the door areas. Easy peasy.
It looked beautiful. So beautiful I took pictures before I vacuumed out the carpet fibers.

I also bought a replacement headliner. It didn't have one, like at all. It was a tin can, I'm telling you - a Coors Light can with tires. This was way more of a pain in the ass than I anticipated. This kit came as a huge piece of foam with the black finish vinyl already affixed to it. It wasn't cut to fit either - as stated on the website. It took some effort just to get it cut right, and trying to get it into place just to get those measurements was a real bitch. But that's not the end of it.
To install it, you spray the foam backing and the roof with 3M headliner adhesive, which on the surface sounds like a breeze but the problem is you only have a short window of working time before you can't adjust the headliner anymore because the adhesive becomes too tacky. Trying to wedge the foam headliner between the roof and the visor mount in the front of the car was a nightmare, and if you don't wedge it in far enough, you risk it either a) falling out and looking just awful or b) having it hang too far back, ultimately resulting in not being able to install the rear interior trim piece properly.
I didn't have anyone around to help because of the time of day I was doing it combined with COVID - we were taking a lot of precautions so as to not get sick and die, so I had to go at it alone. I had to sit so awkwardly in the car to install it I was getting cramps in my sides. I couldn't grab the edges of the headliner because it was covered in adhesive. If I got adhesive on my hands, I knew I'd end up getting it on the finished surfaces too and create another disaster. I was sweating. My neck was in pain. I felt panicky because of the unspoken countdown timer. It was just miserable. I ended up getting it in though, without any accidents. I pressed the foam up into the ceiling and it looked gorgeous.
But that's still not the end of it - fast forward to now, the pre-installed black vinyl separated from the foam backer and started hanging down which is horribly annoying. I ended up having to remove the interior trim piece, cut it, and heat it so it would sag down far enough to re-apply better adhesive. TWICE. Right now it's good, but who knows when or if I'll have to do it again.

SEATS
This is another one I went back and forth on. The impatient part of me said, "Buy brand new aftermarket seats - it'll be easier and you'll get them delivered in a couple days" but the fanboy part of me said "Just reupholster the ones you have." But I don't know how to do that. I've never done it before, how is it even done? Well, my brother-in-law talked me into it and I thought I'd give it a whirl. Again, from Motorsport Auto I bought the re-upholstery kit and replacement seat pads. The old ones were just beat to hell, and had that weird straw stuff in them.

I had to tear everything apart on these to get down to the seat frames. It wasn't that hard to do, but was a little time consuming. Being my first stab at upholstery, I didn't know what to expect but hey - you never know till you try. Overall it was a pretty simple process - remove all the old crap after inspecting it and making a mental note of how it's assembled, and then do the same thing in reverse. I did reference a super helpful YouTube video for a head start too. It required a hog ring tool or something like that to close the C-rings - I just picked one up on Amazon.
In a nutshell, you jam the foam pads into the vinyl pieces and put them on the frame, then run some coathanger looking wire through the pre-sewed holes as anchor points (I was able to re-use the ones that were in my original seats), then use the hog rings to clamp those wires together, then viola! New seats. The photos below look like they're loose - they were just stiff. As time went on and the car sat in the driveway on a warm day, they fixed themselves and look perfect now.


CENTER CONSOLE
The center console was original, cracked, damaged and faded. I bought a new one from Motorsport along with a shifter boot, and installed that too. With the mounting holes already cut out of the center console, this took all of 10 minutes. I was also able to re-use all of the original lights and switches from the damaged center console, so that was a bonus.

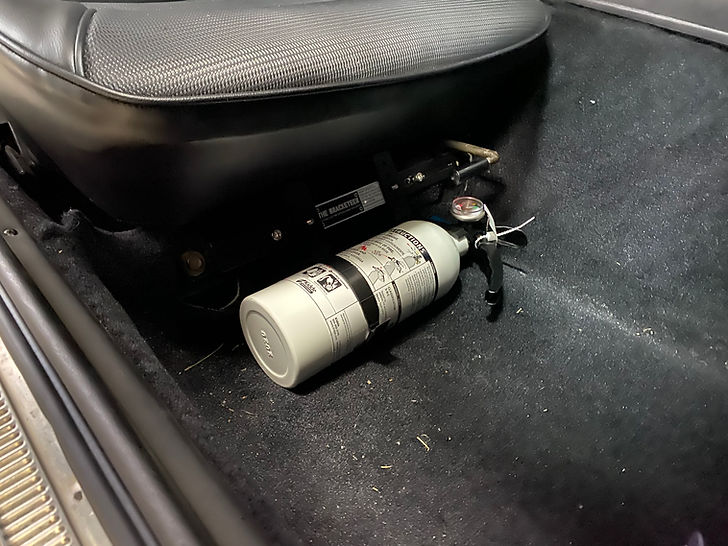
FINALLY DONE
I was glad to get so much done when the weather wasn't in my favor. I also threw a fire extinguisher in there since you know... it was built in 1978. The only thing I didn't address - and still haven't as of writing this is the dashboard. To buy one in good condition you're paying a disgusting premium, so I'm going to repair it. I found a video of a guy who has done it, and it seems to have turned out pretty good so I'll follow his lead and hope for the best. Eventually.